Part 4: Exporting
Introduction
You're not likely to carry your computer around to show others your edited video in Adobe Premiere Pro. You need to export the video from the program, so you can post it online or share it with others. In programs like Microsoft Word, you're used to simply going to the File menu and selecting save.
When you go to the File menu and select Save on Adobe Premiere Pro, you're saving the program file, which is a .pproj file extension. That can only be opened with Adobe Premiere Pro. You need the video saved in a video format, like .mp4, or .avi. In this lesson, you'll learn how to export your video project in a commonly used video format, so it can be uploaded to sites like YouTube, Facebook, and Vimeo.
When you go to the File menu and select Save on Adobe Premiere Pro, you're saving the program file, which is a .pproj file extension. That can only be opened with Adobe Premiere Pro. You need the video saved in a video format, like .mp4, or .avi. In this lesson, you'll learn how to export your video project in a commonly used video format, so it can be uploaded to sites like YouTube, Facebook, and Vimeo.
Exporting Video
Follow the steps below to export the file.
However, the Export Settings dialog box does show an estimate of how big the video file will be. Near the bottom, you will see text stating "Estimated File Size" and a number.
- Make sure the timeline is selected. There will be a blue outline surrounding it if it's active. Click on the timeline to select it, if needed.
- Go the File menu, select Export, and select Media.
- In the dialog box that appears, click on the drop-down menu next to Format. Select H.264. (Note: H.264 is also know as MPEG 4 Advanced Video Coding. The file extension will be .mp4.)
- Click on the blue text next to Output Name. This will be the name of the video you export.
- A dialog box will appear. You can change the file name if you desire.
- Click the Save button and the dialog box will close.
- Make sure there are checks in the boxes to Export Video and Export Audio.
- Click on the Export button.
However, the Export Settings dialog box does show an estimate of how big the video file will be. Near the bottom, you will see text stating "Estimated File Size" and a number.

Adobe Premiere Pro Export Settings with Estimated File Size highlighted
When rendering and encoding is complete, a blue box will appear on the bottom right corner stating the export was successful.
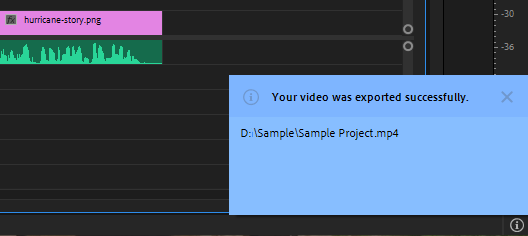
Confirmation video was successfully exported
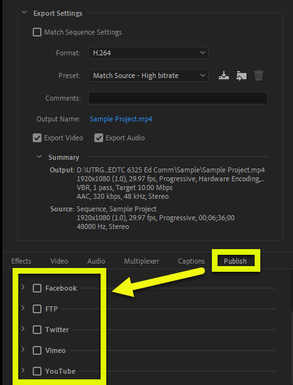
Export Settings Publish tab highlighted
|
We won't cover it in this lesson, but know the Export Settings dialog box also allows you to publish a video directly to popular sites like YouTube and Facebook.
You can also publish videos to Adobe Creative Cloud or an FTP, using the Adobe Premiere Pro Export Setting dialog box. |
Next Steps
To share your edited video with others, you need to export it from Adobe Premiere Pro in a format others can open. In this lesson, we covered how to export a project as an H.264 (.mp4) file, which is a video format compatible with many programs. You learned to go to the Export option in the File menu and select a file location and file name for the video.
Now that you can export a video, what will you do with it? In this lesson's discussion, you're asked to share how you plan to use videos you edit. Are they destined for your website, social media accounts, or maybe broadcast?
If there's a specific site or destination for your video, check with the site or service to see if they have preferred export settings. Adobe Premiere Pro has many options, which can be adjusted to meet specific export needs.